
To finish a kitchen cabinet declutter, open every door, clear one shelf at a time, and toss expired items immediately. Put remaining dishes, pans, and tools back in clear groups based on how often you cook with them. This whole job takes about 45 minutes for standard lower and upper cabinets.
Step 1: Empty one section completely
Do not pull down every single item in your kitchen at the exact same moment. Pick one specific area, such as your baking shelf or your spice rack, and wipe that area clean. You need a clear workspace on your counter to see what you actually own before you start sorting.
Line up three empty cardboard boxes or plastic laundry baskets on the kitchen floor. Label these bins clearly so you do not mix up your decisions while you work fast through your items.
- Keep: Items you used in the last month and fully intend to use again soon.
- Donate: Duplicate items, spare coffee mugs, and gadgets that sit unused.
- Trash: Broken plastic lids, chipped plates, and expired canned goods.
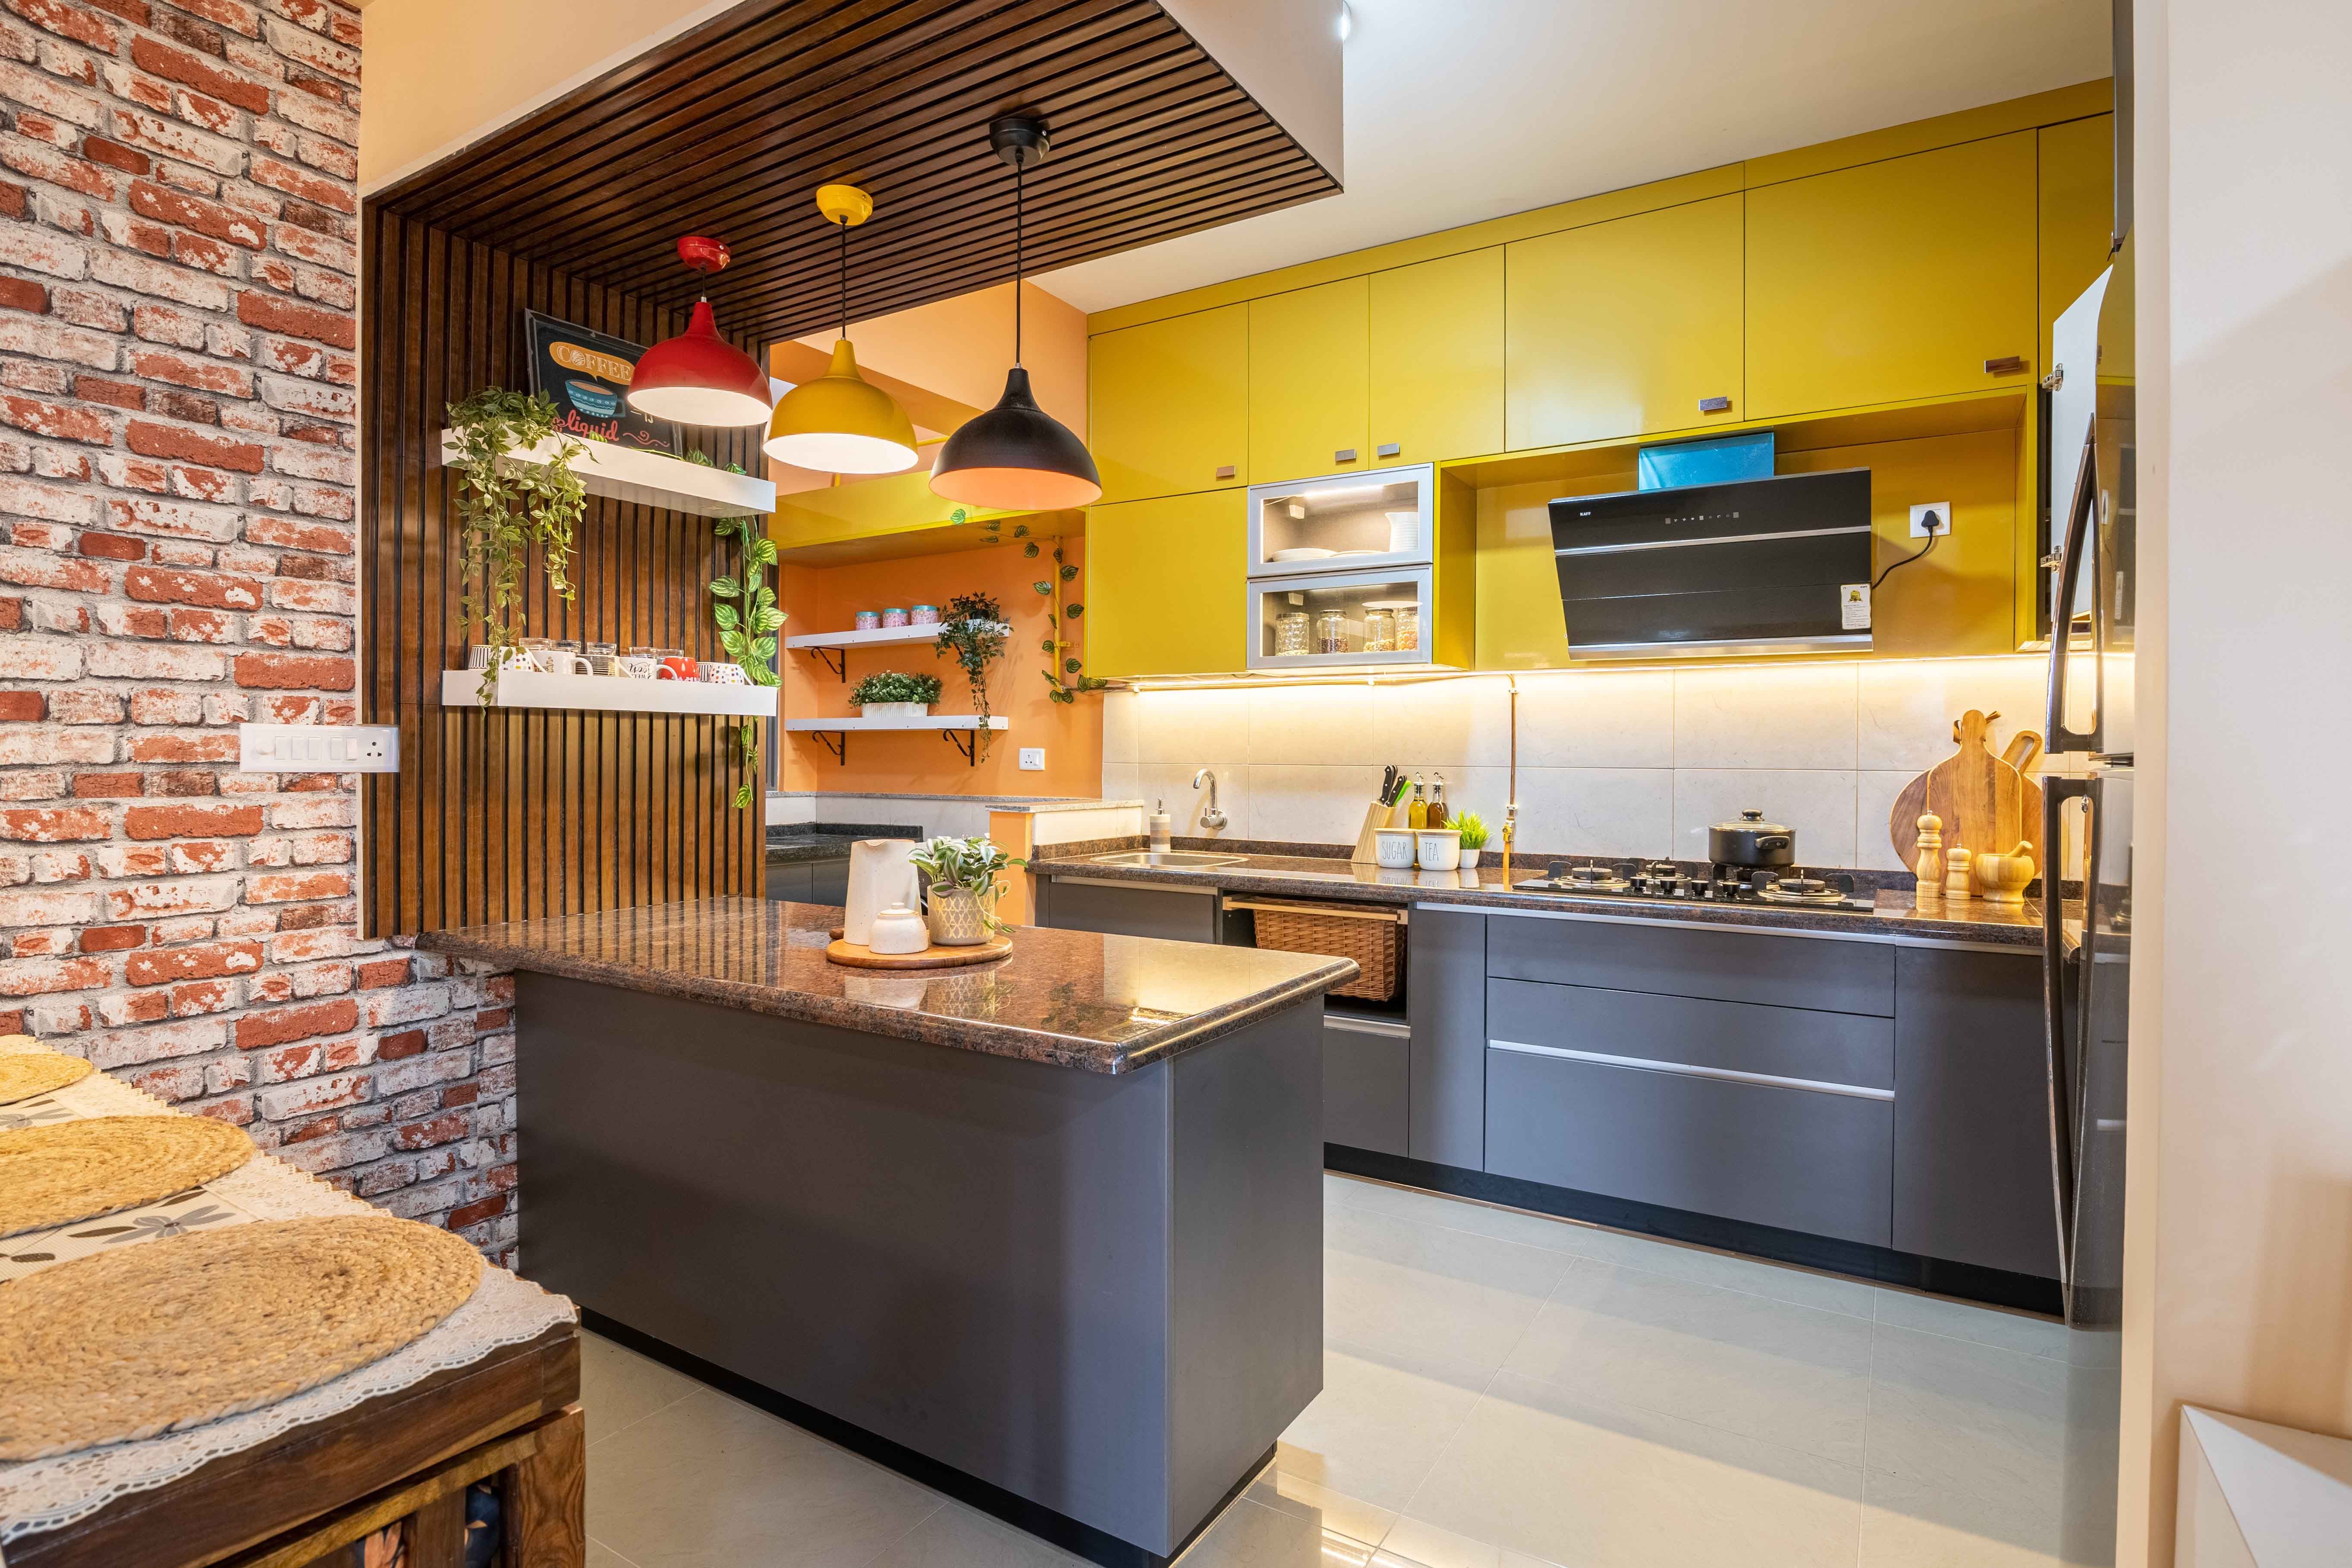
Step 2: How to clean and check your kitchen cabinet space
Once a shelf is empty, take two minutes to clean the wood or laminate surface. Dust, flour, and sugar collect in the back corners very quickly. Wiping the space down now ensures your clean items go back into a fresh spot.
Grab a damp microfiber cloth and a standard spray bottle filled with warm water and two drops of dish soap. Wipe the top surface, the side walls, and the inside of the door. Dry everything thoroughly with a dish towel before putting a single item back inside.
Step 3: Group your kept items by daily use
Group your remaining items by function rather than by size. Put all your baking supplies together, keep your basic coffee items in one place, and place daily dinner plates near your dishwasher. This standard practice of professional organizing keeps your routine smooth every day.
Place your most frequently used items on the middle shelves at eye level. Store heavy roasting pans, large soup stock pots, and seldom used appliances on bottom shelves or very high racks. Good housekeeping relies on keeping daily items easy to reach without using a step stool.
Step 4: Pack items back with simple containers
Use simple containers to keep small loose items from rolling around the back of your shelves. You do not need expensive matching sets to make this system work. Plain plastic bins or low cardboard boxes work extremely well inside deep corners.
- Put snack bags and food pouches into clear open boxes for fast access.
- Use small round turnables for oil bottles, vinegar, and small spice jars.
- Store plastic container lids upright in a wire mail sorter or rack.
- Stack frying pans vertically with simple rack dividers to save space.
Step 5: Maintain your clean cabinets every week
Maintaining a clean kitchen requires quick check-ins rather than massive cleanups. Spend three minutes every Friday night putting misplaced cups or stray spices back into their assigned zones. A short routine stops clutter from building up again over time.
Before you go grocery shopping, take one minute to look through your food shelves. Check what you already have so you do not buy duplicate boxes of rice, extra cans of soup, or extra spices. Keeping your inventory clear keeps your cabinets tidy forever.


No comments:
Post a Comment